
You open your motherboard manual, look at the diagram, and see labels like CPU_FAN, CPU_OPT, and CHA_FAN scattered across the board. CPU_FAN makes sense. But CHA_FAN? Most people either ignore it, plug something in randomly, or end up searching online at 11pm trying to figure out what it does.
Short answer: CHA_FAN stands for chassis fan. It powers the case fans in your build, not your CPU cooler. The longer answer is more useful, especially if you actually care about temperatures and fan control.
What Is a CHA_FAN on Your Motherboard?
CHA_FAN is a fan header that provides power and speed control to the fans inside your PC case. “Chassis” is just another word for case, so CHA_FAN = chassis fan.
Most PC motherboards have between 1 and 6 of these headers, labeled CHA_FAN1, CHA_FAN2, and so on. Some manufacturers call them SYS_FAN instead, but they do exactly the same thing.
CHA_FAN headers are separate from CPU_FAN. Your CPU cooler always goes into CPU_FAN. CHA_FAN is for everything else: front intake fans, rear exhaust fans, top fans, any extra case fans you are running.
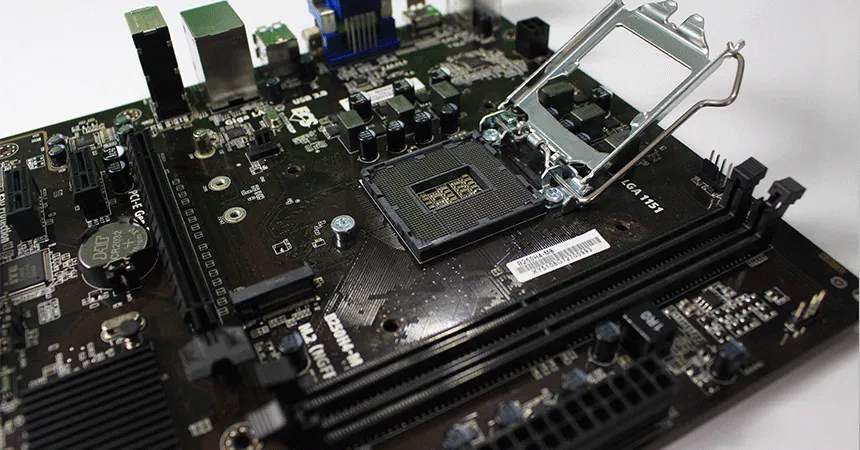
3-Pin vs 4-Pin CHA_FAN: The Difference That Actually Matters
This part matters if you want real control over fan speeds.
3-pin CHA_FAN headers work by adjusting voltage. The fan gets either full voltage or a reduced voltage to lower speed. Control is limited and not very precise. Most older fans use 3-pin connectors.
4-pin CHA_FAN headers use PWM (Pulse Width Modulation). The fourth wire sends a signal that tells the fan exactly how fast to spin. You get much finer control, quieter operation at low loads, and better response to temperature changes.
If your fan only has a 3-pin connector, you can still plug it into a 4-pin header. It will work, but you lose PWM speed control and the fan falls back to voltage-based control. One thing people miss: a connector with 4 holes but only 3 wires is still a 3-pin connector. Count the wires, not the holes in the housing.
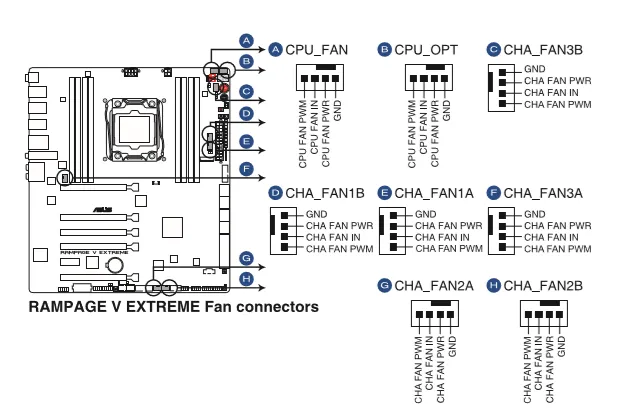
How to Connect CHA_FAN to Your Motherboard
Find the header on your board, match the notch on the fan connector to the header, and push it in firmly. The headers are keyed so you cannot plug them in backwards.
If you have multiple case fans, plug your rear exhaust into CHA_FAN1 and work from there. The order does not affect cooling, but it keeps fan monitoring organized in your BIOS.
If you run out of CHA_FAN headers, a fan splitter cable lets you run two fans from one header. Just do not overload the header. Most CHA_FAN headers handle around 1A to 2A, which covers two or three standard 120mm fans comfortably. Check your motherboard manual for the specific limit.
How to Attach a CHA_FAN to the Power Supply Instead
A PSU can power your fans directly using a Molex adapter cable. But you lose all speed control. The fans run at full speed all the time, regardless of temperatures.
The only reason to do this is if you have run out of motherboard headers and do not want to use a splitter, or if you are building a server where fan noise is not a concern. For any regular desktop build, connecting to the motherboard headers is the better option.
CHA_FAN vs CPU_FAN vs CPU_OPT: What Goes Where
| Header | What It Is For |
|---|---|
| CPU_FAN | Your CPU cooler (required, board will not POST without it) |
| CPU_OPT | Optional second CPU fan or AIO pump backup |
| CHA_FAN1-6 | Case fans: intake, exhaust, top fans |
| AIO_PUMP | All-in-one liquid cooler pump (on boards that have it) |
Never plug a case fan into CPU_FAN. The board monitors that header and will throw a fan failure error or refuse to boot if the connected fan stops spinning or nothing is plugged in.
How to Control CHA_FAN Speed
There are three practical ways to set fan curves for chassis fans.
BIOS/UEFI: Every modern board lets you set fan curves directly. Go into the fan control section (usually called Q-Fan on ASUS, Smart Fan on Gigabyte, or similar) and you will see sliders or graphs for each header. This is the most reliable method since it works before the OS loads.
Motherboard software: ASUS AI Suite, MSI Dragon Center, and Gigabyte APP Center let you adjust fans from Windows. Useful for on-the-fly tweaking, but setting the base curve in BIOS first is the better approach.
Third-party software: Fan Control is a free, actively maintained Windows app that gives you precise fan curve control tied to any temperature sensor on your system. If your BIOS fan control options are limited, this fills the gap well.
For monitoring temps and checking that fans are actually responding to load, HWiNFO64 gives you real-time data on every sensor including individual fan RPMs. Free and more detailed than most manufacturer tools.
Best Case Fans for CHA_FAN Headers in 2026
If your case fans are old, loud, or underperforming, these are the options worth looking at right now.
Noctua NF-A12x25
Still the benchmark for 120mm fans in 2026. Quiet, efficient, and built to last. The max RPM is 2000 with PWM control, noise levels stay low at normal loads. Expensive for a single fan but you are not replacing it any time soon.
Arctic P12 PWM PST
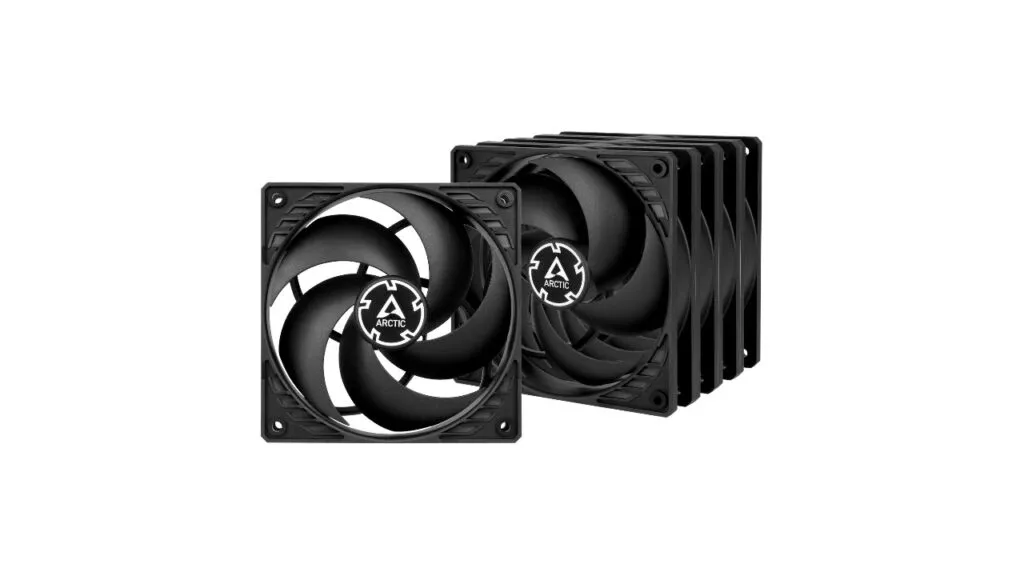
Best value option for most builds. The 5-pack gives you enough fans to cover a full ATX case at a reasonable price. Good static pressure, decent noise levels, no RGB to worry about. Max RPM of 1800 with PWM control. A solid pick if you need multiple fans without spending a lot.
PCCooler PC-FX120
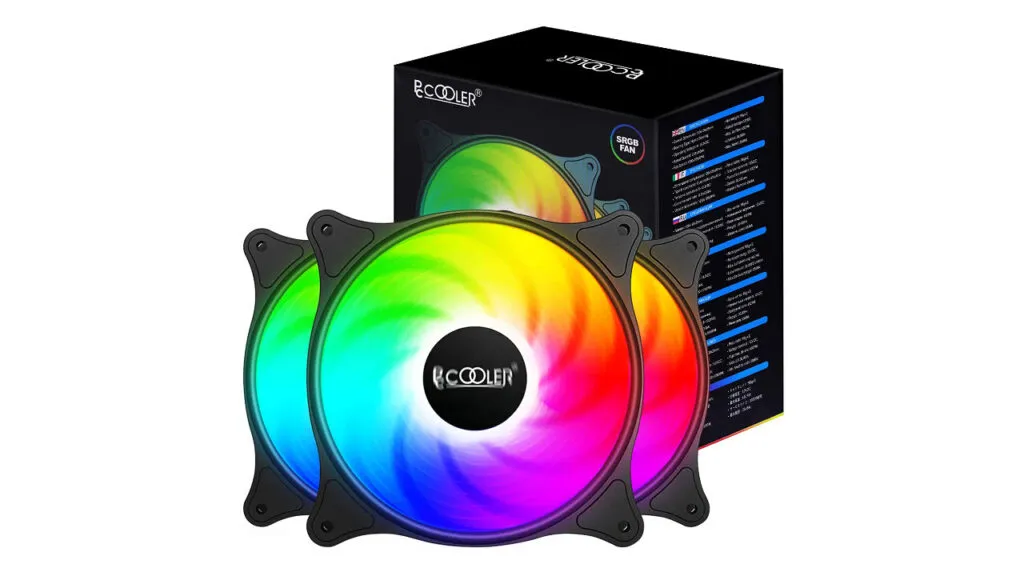
Three-pack of 120mm fans with hydraulic bearings for quieter operation. RGB included and max RPM of 1200 keeps noise low. Good for builds where you want some color without paying Corsair or NZXT prices.
NZXT AER RGB 2
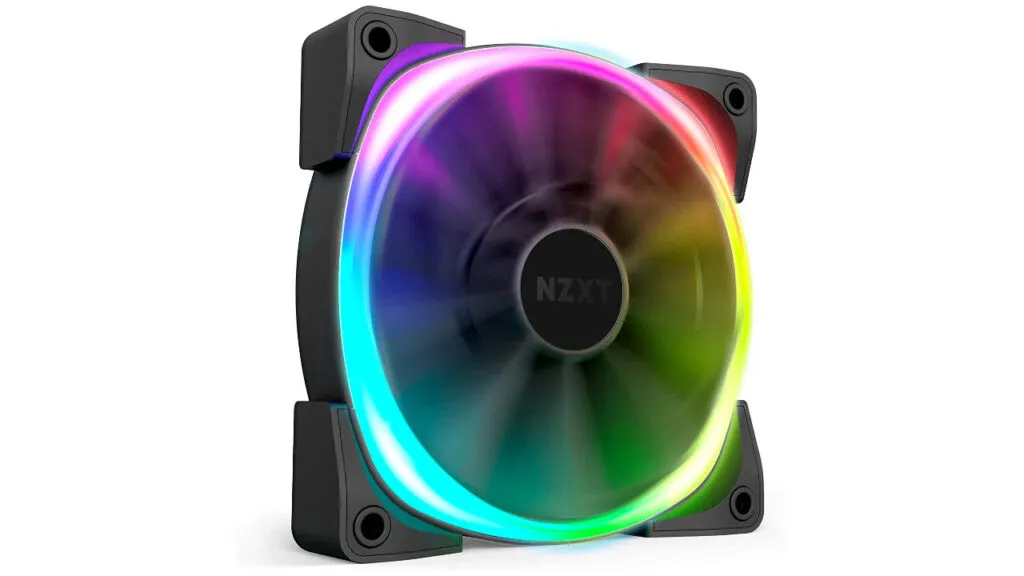
A step up in price, but the addressable RGB is fully customizable through NZXT CAM. Max RPM of 1200 keeps it quiet. You do need the NZXT controller separately if you want RGB control, which adds to the cost. Better fit if you are already using NZXT components.
Cooler Master MasterFan MF120
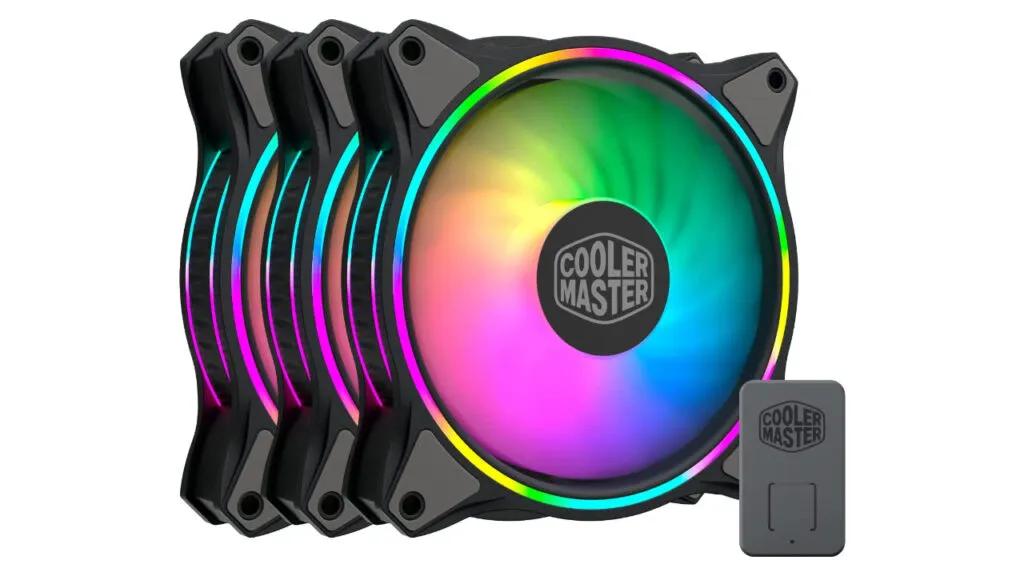
Three-pack with RGB on both the fan blades and the halo ring. Includes static pressure optimization, absorbent pads for liquid radiators, and PWM control up to 1800 RPM. Good all-rounder for mid-range builds that want RGB without going full Corsair.
Corsair LL120

Triple pack with Corsair’s Lightning Node PRO controller for RGB and speed control through iCUE software. Speed adjustable between 600 and 1500 RPM. Good pick if you are already in the Corsair ecosystem with other iCUE-compatible components.
CHA_FAN Not Detected or Fan Not Spinning: Quick Fixes
If your BIOS shows 0 RPM on a CHA_FAN header, try these in order.
Check the physical connection first. CHA_FAN connectors are small and sometimes do not seat fully. Press firmly until it clicks into place.
If the fan is 3-pin on a 4-pin header, some boards default to PWM mode and will not read a 3-pin fan correctly. Go into BIOS and switch that specific header from PWM to DC mode.
Try a different CHA_FAN header on the same board. Rarely, one header fails while others work fine.
Some boards have a minimum RPM threshold and report 0 if the fan runs below it. Lower the threshold in fan settings or check the actual RPM reading in HWiNFO64.
Related Articles
- Best Mini ITX NAS Motherboards for compact builds where fan placement matters
- Best NAS Processor for Home Media Server for low-power builds where noise control is key
- Low Power Motherboards for NAS if passive or near-silent cooling is your goal
- Best 10GbE NIC for PC Gaming for high-performance desktop builds
What is CHA_FAN header on my motherboard?
CHA_FAN stands for chassis fan. It is the header on your motherboard that powers and controls the fans inside your PC case, separate from your CPU cooler.
How do I connect a chassis fan to the CHA_FAN header?
Align the notch on your fan connector with the CHA_FAN header pins on your motherboard and push it in firmly. The connector is keyed so it can only go in one way.
Can I control the speed of fans connected to CHA_FAN?
Yes. Connect via a 4-pin PWM connector and you can set precise fan curves in your BIOS, through motherboard software, or using a free tool like Fan Control. 3-pin fans connected to CHA_FAN headers can only be controlled by voltage, which gives less precise speed adjustment.
Is it necessary to connect all case fans to CHA_FAN headers?
Ideally yes, since you get speed control and RPM monitoring. If you run out of headers, a fan splitter works fine. Connecting directly to the PSU via Molex is an option but you lose all speed control and fans run at maximum all the time.
Is SYS_FAN the same as CHA_FAN?
Yes. Different manufacturers use different names. ASUS typically uses CHA_FAN, MSI often uses SYS_FAN. They serve the same purpose.
How many fans can one CHA_FAN header power?
Most CHA_FAN headers handle 1A to 2A. A standard 120mm fan draws around 0.3A to 0.5A, so two fans per header is safe on most boards. Check your motherboard spec sheet before using a splitter to run more than two fans from a single header.


