If you have recently installed Unity 3D game development software on your PC or trying to move it to another device, you might face this could not resolve hostname error. Sometimes, it is caused by the improper local settings on your computer, that are mostly internet related.
A Simple way to approach this is, using the Manual activation of Unity 3D license, but if you have skipped the Manual Activation Dialog box for the very first time, its hard to open it back. The solution is still the same way – Manual activation. But before I explain how you can solve this Unity 3D license’s could not resolve host name error, make sure you have all the following information.
1. Unity 3D Setup installed on your computer.
2. Free Unity 3D Account for activation. If not register an account here.
3. And make sure you have exactly the following error on your Windows PC or Mac. that says: Error Loading Page: Couldn’t resolve host name.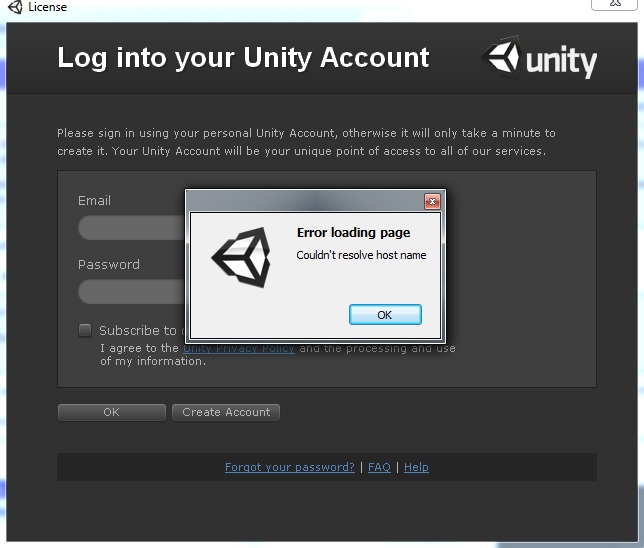 We will use the account details to create an offline license file. So if you have both of these things, lets solve your hostname resoling issue in 2 minutes.
How To Solve Unity 3D License: Could Not Resolve Host Name Error!
1. We need to trigger the manual activation first, so let’s take our computer offline. Go to Networks quick launch button in the right bottom corner, select your Wi-Fi or Ethernet connection name, and click on Disconnect, just like in the following screenshot.
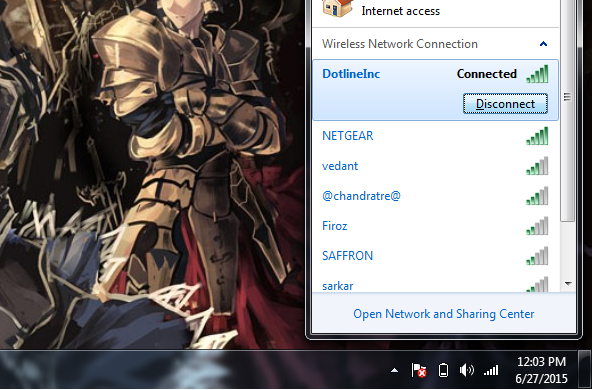
You can also do the same, by either turning off your Wi-Fi Router of Modem or taking your Windows 8.1 PC to airplane mode.
2. Now that you are offline, make sure all the instances of Unity and its activation dialog box is closed.
3. Open the Unity 3D software by double-clicking the icon.
4. Now, you will get the manual activation dialog window back. Click on it.
5. Now, simply click on the save file, where you save the license file on convenient location.
6. Now open your browser (Chrome/Firefox or anything else.) and visit https://license.unity3d.com/

7. Here you will be prompted to choose the file, where you have to select the file you just saved in the Step 5.
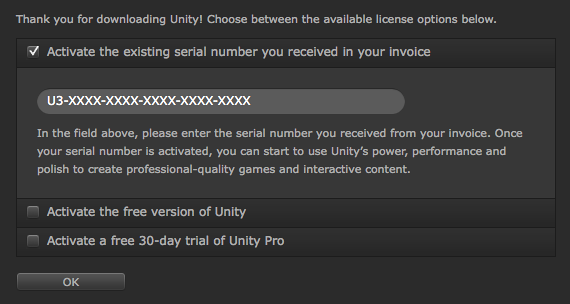
8. Now you will come across the licensing window, where if you have Unity 3D Pro subscription, you can enter the license code, or simply lick on Activate the free version of Unity 3D.
9. You have to put your Unity 3D account username and password here, and forward to downloading the file.
10. Now go back to your manual activation window, and hit Load file, and chose the recently downloaded file in Step 9.
Click Next, and your Unity 3D software is now registered and active. You can start back your internet connection, and enjoy the game development process further.
This is not a usual tutorial at digitalconqurer.com, but I will try to cover the problems I face during the game development process, or what other developers ask me to, so make sure you join our tech community on facebook, or follow me on twitter @amolwagh for interesting technology, gaming & development news and reviews.